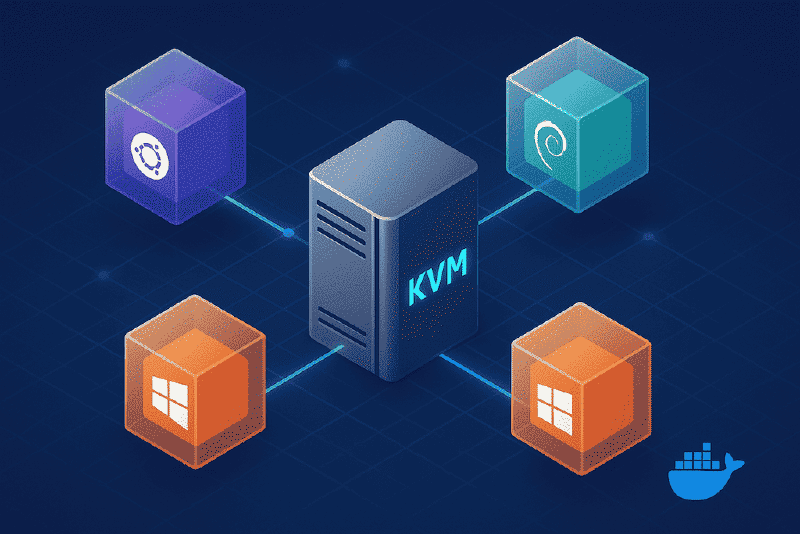
在 Ubuntu 虚拟机中,用 kubeadm 搭建 Kubernetes 1.33 集群,安装 Flannel 网络插件、Dashboard、并通过宿主机的 FRP 实现端口转发
在一台 i7-10700T / 64G / 1T NVMe 内存的小主机上,运行多个虚拟机,构建后端开发平台的基石。
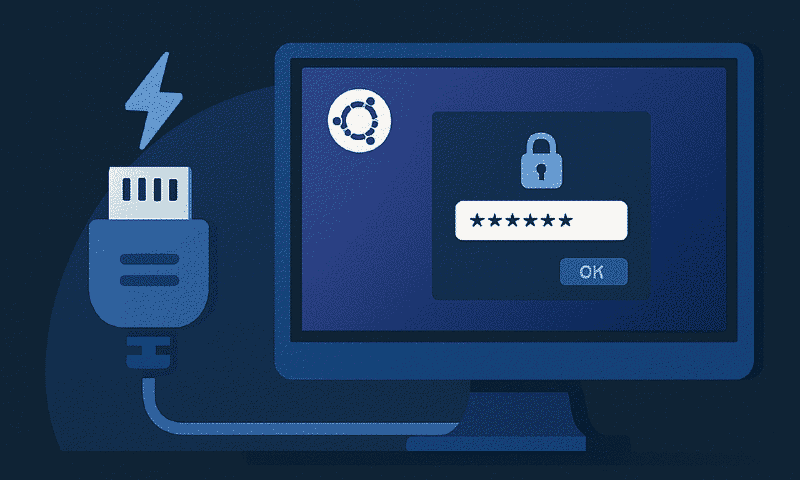
如何在无显示器的 Ubuntu 主机上部署 x11vnc,实现密码保护、持续运行、开机自启,并解决“无显示器黑屏”问题。
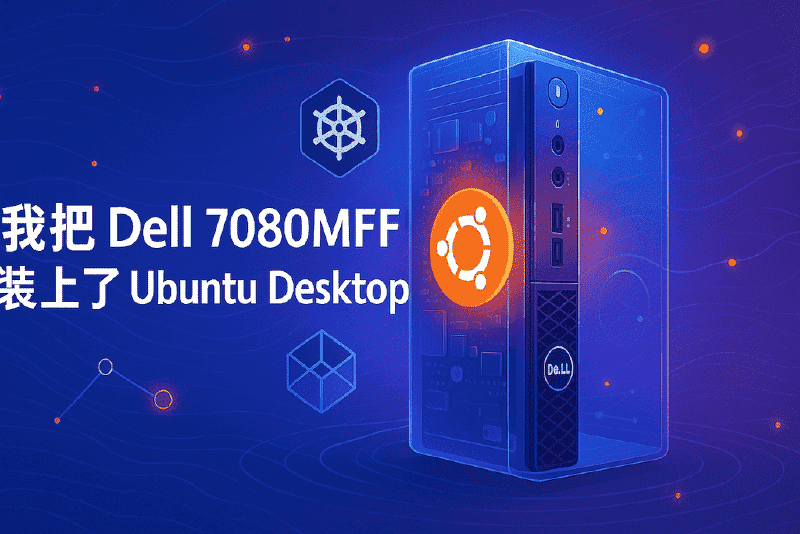
从制作启动盘到 BIOS 调整,从 Secure Boot 到 AHCI 模式,我把一台 Dell 7080MFF 安装上 Ubuntu Desktop,为构建家庭云平台迈出第一步。
是的,我放弃了 WordPress,转向 Hugo。不仅仅是快,还有它和 Git 更搭,和 CI/CD 更配
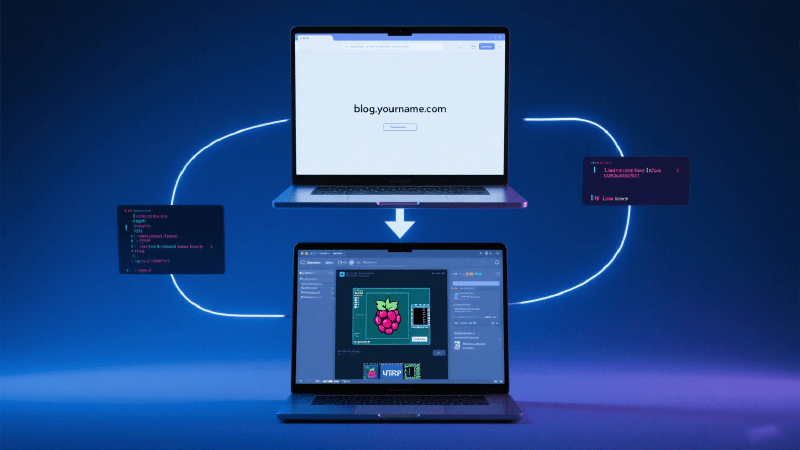
这是我用一台树莓派打造家庭云平台的完整故事总结,从 Gitea 到 Drone,再到博客和监控,一路折腾,一路成长
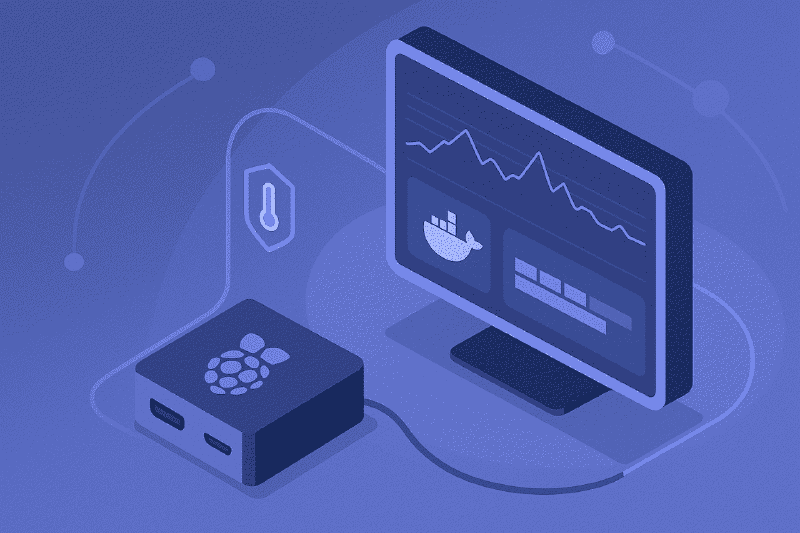
树莓派跑了那么多服务,我决定用 Netdata 做一套全面的资源监控,部署方式当然是 Docker
用 FRP 打通内网与外网,让树莓派在公网可见:博客、SSH、VNC 一网打尽
用 Hugo + Drone 实现自动构建部署,家里的树莓派正式上线我的博客
从 runner 卡在 pending 到架构不兼容,我在树莓派上跑 Drone 的血泪史